
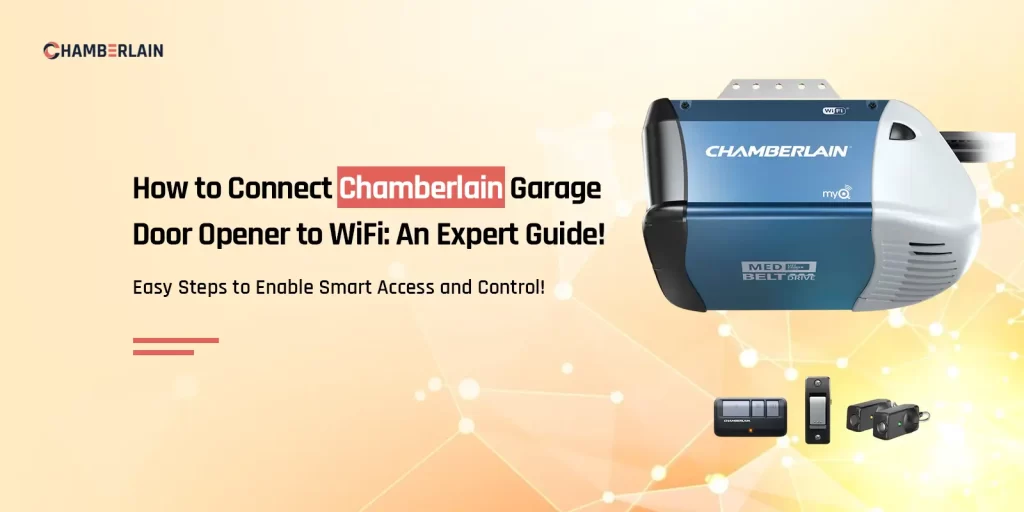
Over the years, digital innovation and technology have taken a permanent space in different aspects of our daily lives. Similarly, the Chamberlain has offered its all-new garage door openers based on the latest wifi technology. However, if you want to monitor your garage doors from distant locations, you must learn How To Connect Chamberlain Garage Door Opener To WiFi. Therefore, to assist you throughout this procedure, we present our simplified guide. In this guide, you will get deeper insights into this wifi configuration procedure. Let’s dive in!
Getting Starting With the Chamberlain Garage Door Opener WiFi Configuration
Before the Chamberlain door opener wifi setup, you must know how to perform it. Generally, the myQ smartphone app is used to connect the Chamberlain garage door opener to the wi-fi network.
Additionally, you must have a smartphone, myQ app, a 2.4 GHz wifi network, accurate SSID & password, power supply, etc. Further, you need to know the stepwise instructions to carry out this wifi configuration. So, if you want to accomplish this process effortlessly, follow the below steps:
How To Connect Chamberlain Garage Door Opener To WiFi on My Phone?
As mentioned above, you can easily connect the Chamberlain garage door opener to wifi on your phone. For that, the MYQ smartphone app is used. You can easily find this app on the PlayStore or AppStore. So, if you want to configure your door opener to an available wifi network, jump into the below-given stepwise procedure.
Logging into the myQ App
- Initially, download the myQ app on your smartphone.
- If you have an existing one, then update it first.
- Enable the location permissions when you receive a prompt.
- Then, launch the app and Sign in to your account using a valid email and password.
- If you are a new user, then, Sign Up first.
Accessing the Dashboard
- Now, you reach the home dashboard of the app.
- Hereon, visit the Device page and click on the + icon.
- Next, visit the Device Setup screen and select your device type from the Ceiling Installed or Wall Installed.
- Further, tap ‘I’m Ready’ to proceed after reviewing the information on the screen.
WiFi Configuration via Learn Mode
- Hereon, choose the wall control type and activate the Wi-Fi learn mode.
- For that, tap Menu and use the down arrow key to select Program via > side arrow.
- Now, use the arrow keys to select WiFi Setup.
- After that, lift the Learn button cover, then press & release it.
- Press the Learn button side for 6 seconds and hold till you see the flashing LED.
Finalizing the Garage Door Opener WiFi Setup
- Now, pair your device with Bluetooth with the device starting with ‘myQ-XXX’ from the Discovered screen.
- Further, select your preferred wifi network from the available networks.
- Enter the valid password to connect your door opener to wifi and tap Next.
- Wait till the Chamberlain garage door opener connects to the chosen wifi.
- Now, name your wifi network and hit the Finish button.
- At last, tap on the Garage door opener to activate the setup and this configuration ends here.
Note: The aforementioned procedure is for the Android mobile device. You can also perform this configuration on iOS mobile devices.
Bottom Line
Overall, you have now learned the stepwise procedure of How To Connect Chamberlain Garage Door Opener To WiFi through our brief guide. Hopefully, you have mastered this wifi configuration and found it easy to perform at home proficiently.